


ND Filter ND0.9 3 Stops For Portraits
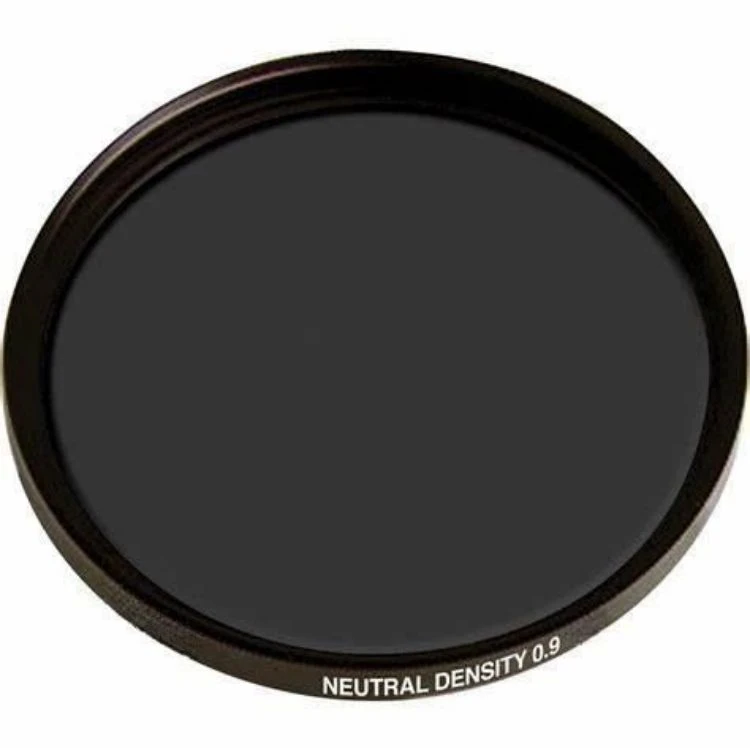
An ND filter or neutral density filter is used to reduce the amount of light entering the lens. Photographers can use larger apertures or slower shutter speeds in bright lighting conditions. An ND filter ND0.9 3 stops blocks about 75-80% of the incoming light, reducing three stops of light. With...
- Fast Delievery
- Quality Assurance
- 24/7 Customer Service
Product Introduction
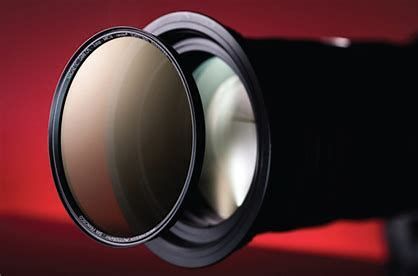
An ND filter or neutral density filter is used to reduce the amount of light entering the lens. Photographers can use larger apertures or slower shutter speeds in bright lighting conditions. An ND filter ND0.9 3 stops blocks about 75-80% of the incoming light, reducing three stops of light. With an ND 0.9 or 3-stop filter, you can use a slower shutter speed and a wider aperture to prevent overexposure and flash photography.
Our premium ND 0.9 filter blocks out 75-80% brightness from ambient light, which opens up a world of creative possibilities for any outdoor photographer in a single, lightweight yet rugged accessory. However you choose to use it, our high-quality filter enhances your vision without affecting natural color balance. It gives you creative control over lighting situations while flawlessly neutralizing your images. Once you start using it, you'll never want to take it off your lens. Achieve your artistic vision without limitations using our ND filter!
Features
- Neutral density filter for NDF0.9
- Broad compatibility
- Extraordinary maintenance for the images’ sharpness and color accuracy
- High durability
- Multi-coating
- ISO9001, ROHS certified
Parameters
|
Product Name |
NDF0.9 |
|
Optical Density |
OD0.9 |
|
Stops Reduction |
Stops 3 |
|
Diameter |
49mm or custom |
|
Thickness |
1mm or custom |
|
Shape |
Round or Square |
|
Type |
Absorptive or Reflective |
|
Coating |
Multi-coating |
|
Tolerance |
±0.01-0.1mm |
|
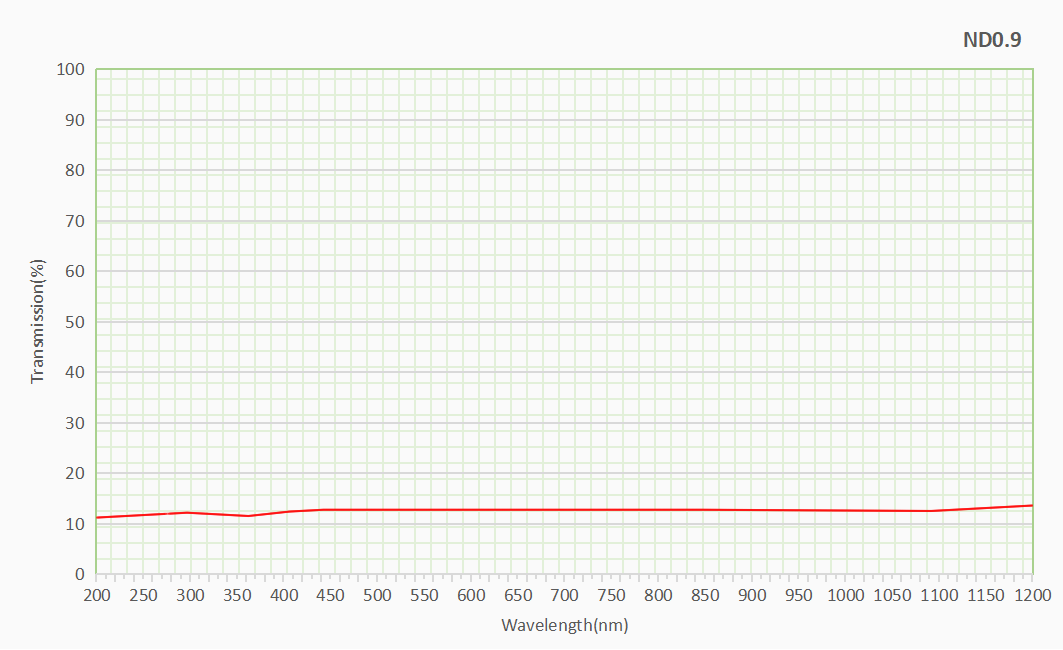
Wavelength Range: |
200-1200nm |
Spectrum transmission curve
Applications
an ND0.9 or 3-stop neutral density filter provides a simple solution to various challenging lighting situations in still photography and videography. It allows more creative control over exposure settings to produce professional images and footage. A handy filter to have in any photographer's kit. Some practical applications in photography include:
- Long-exposure photography
- Widening aperture in bright light
- Preventing overexposure
- Using Flash at a more comprehensive settings
- Capturing more details
- Shooting video

How to use a neutral density filter?
Select the appropriate ND filter density. The higher the density, the more light it will reduce. Common options include ND2 (1 stop), ND4 (2 stops), ND8 (3 stops), ND16 (4 stops), and ND filter ND0.9 3 stops. Choose a density based on how much you need to reduce the light for your purpose.
2. Mount the ND filter onto your lens. Most ND filters will screw onto the front thread of your lens. Make sure you purchase the proper thread size for your lens. Consider a square ND filter holder and adapter rings if using a lens with front elements that rotate during autofocus or zooming.
3. Set your camera to aperture priority mode. This will allow you to adjust only the aperture while the camera sets an appropriate shutter speed. The ND filter will prevent overexposure as you open up the aperture.
4. Select your desired aperture setting. Choose an aperture that will give you the depth of field you want, such as f/1.8 for shallow DOF or f/8 for wider DOF. The camera will automatically adjust the shutter speed for proper exposure based on the amount of light passing through the ND filter.
5. Compensate the exposure. You should increase the ISO or slow the shutter speed to achieve good exposure through the ND filter. Each stop of the ND filter reduces the amount of light by half. So an ND8 filter reduces light by three stops, allowing only 12% of the original light through. You should triple the ISO or decrease the shutter speed by eight times. Check your results by reviewing photos and adjusting ISO/shutter speed as needed.
6. Remove the ND filter when finished. Once done shooting and you want to go back to standard exposure control without the ND filter, simply unscrew it or remove it from the lens adapter. Be careful not to touch or smudge the glass surfaces of the filter during removal and storage.
7. Optional: metering through the ND filter. For the most accurate exposure, point your lens toward your hand or another object while holding the ND filter in front of the lens. Take a reading of the light through the filter. Then set your ISO/aperture/shutter speed based on the meter reading before mounting the filter. This method is more precise than compensating exposure after mounting the filter.
Hot Tags: nd filter nd0.9 3 stops for portraits, China, suppliers, manufacturers, factory, customized, wholesale, bulk, pricelist, in stock, for sale
No Information


